

Yes, I really am doing a post on my blog, about a layout, about my blog! Silly, but I really want to offer my fellow crafters some tips on photographing layouts for online posting. I created the page and took these photos early February, but haven’t had the opportunity to share them, so here we go!
1. Natural Light
Remember my post about natural light? Whenever possible, use natural light to photograph your pages / tags / layouts / cards / etc. It makes a huge difference! There are plenty of times I’m scrambling to upload before midnight during LOAD, using my camera phone, in my not-very-well-lit craft space, but I usually go back and rephotograph my pages during daylight hours with my DSLR. Natural light really shows the lovely details!
2. Make it Flat
One of the best ways to photograph a page and keep it flat is to stick it on a flat surface. For Christmas, we gave my daughter a bead making kit and jewelry box from Costco and it was tucked into a white box inside the packaging – it was the perfect size to tape 12×12 layouts onto for photos! I’ve seen a post where Noell Hyman from Paperclipping.com uses a small square end table (I think from Ikea?) that she lays on its side and props on a table to use for photographing her layouts.
I add a couple spots of removable tape to the corners of the box and stick on my layouts. I can usually photograph several pages using the same little spots of tape. This really helps me keep my pages flat, especially since I tend to use lots of mists and sprays, which inevitably make the paper curl.
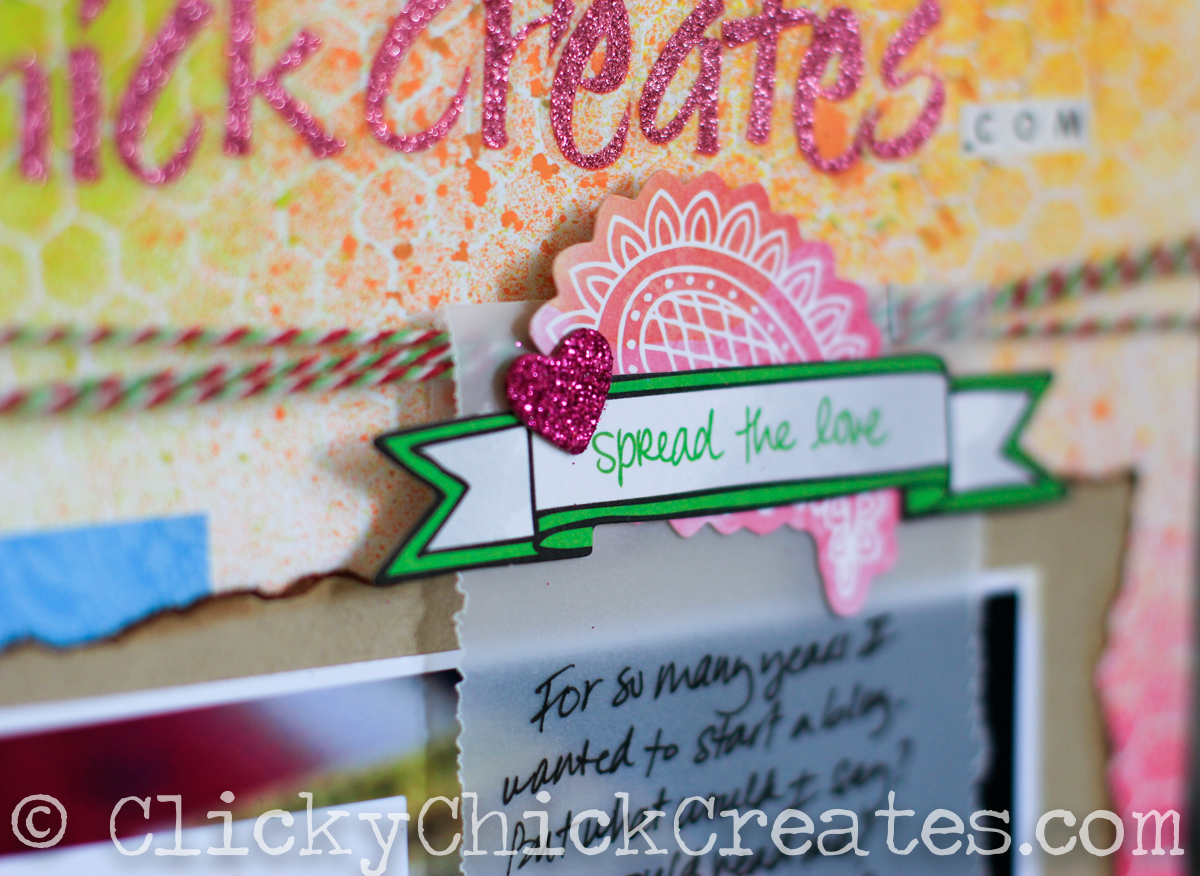
3. Get Close and Personal
Be sure to get close up shots of some of the details. Layered embellishments, title treatments, tiny accents, etc. all need their time in the spotlight! They were important enough to add to your layout, so show those clusters and details some love!

4. Variety, lots of variety!
Get variety in the angles you shoot. I always get one where I’ve included the entire page head on, and I’ll crop it square, and usually fills the square perfectly. Sometimes it’s a little off, but that’s ok. Stand directly in front of your layout. Having it flat on an item you can stand is perfect, especially since you can be perfectly perpendicular for the shot.
{paper}| <——— {camera lens}
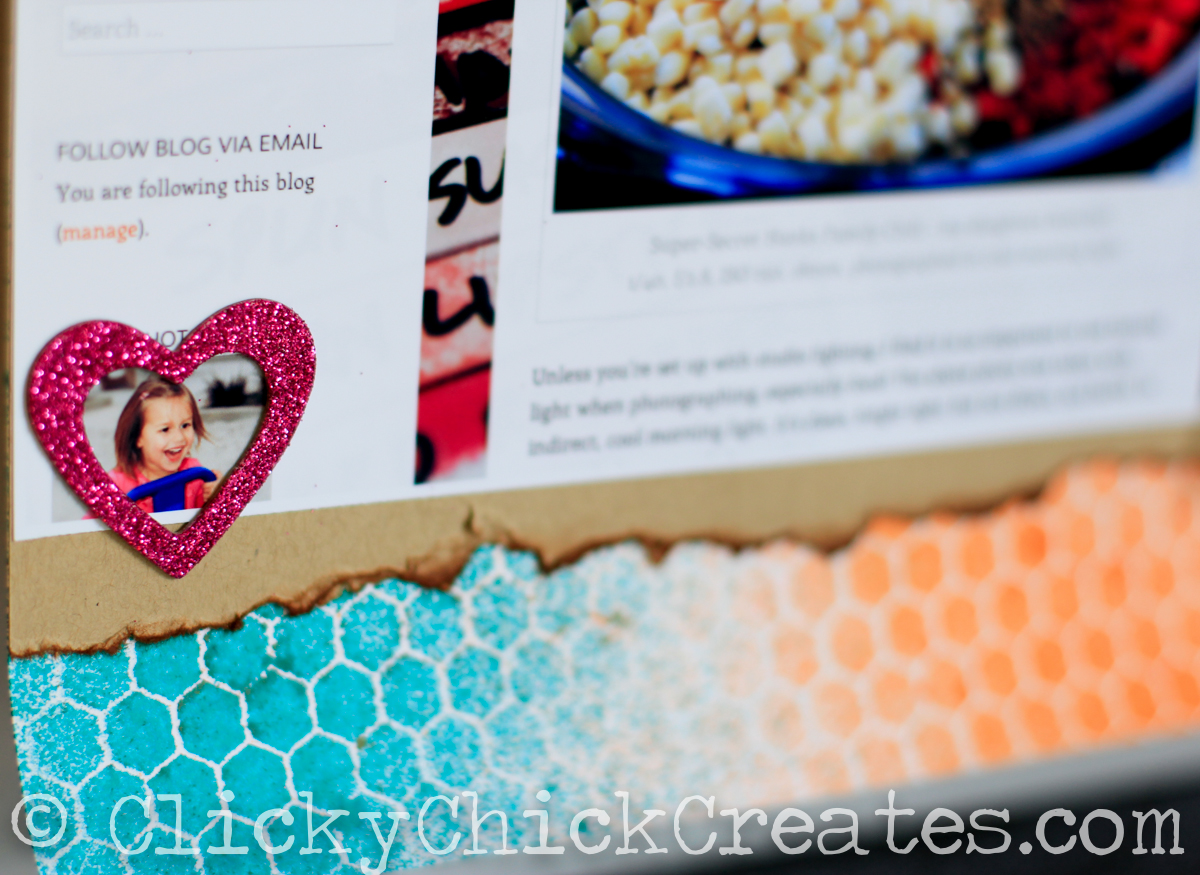
For the close up shots, especially if there are layers or dimension, shoot at an angle. Meaning – get a little sideways on the shot. It adds visual interest and when you shoot with a wide aperture (meaning small number, like f/1.8 or f/1.4) make sure you select your focal point. That will definitely lead the eye where you want it, and the rest of the photo will be a bit out of focus. I love that look!
5. Create a setting
Add products, tools, or decor when photographing your piece of art. I didn’t do it with this example specifically, but I did it with a post earlier this week – Green Tags. It helps tell the complete story, so to speak : ) It’s also nice to use household decor pieces, or cute trinkets too!
I hope these tips help on your next paper-based photos! If there are any questions you have, or tips you’d like to see, let me know in the comments below!
Thanks for stopping by and have a joyful, creative, blessing filled day!
Live creatively!
xoxo,
/c

4 responses to “Paper, Crafts, Layouts, Tags {Photo Fridays}”
[…] Tim Holtz Distress Inks or Tim Holtz Distress Stains to create my own papers like here, here and here. For this layout I went with stencils and gelatos. It was a first for me to use gelatos on a […]
LikeLike
[…] to lay your creations against when photographing. If you need some help, I wrote a post with tips for photographing paper projects here, and my dear, adorable, uber-talented and totally-who-I-want-to-be-when-I-grow-up friend Jennifer […]
LikeLike
Thanks, Connie!
LikeLike
Thanks for all the great tips. Can’t wait to try them out. 🙂
LikeLike